DEVELOPMENT PROCESS
3D modeling
Texturing
UV mapping
Rendering
DEVELOPMENT TOOLS
Autodesk Maya
Substance 3D Painter
Unity
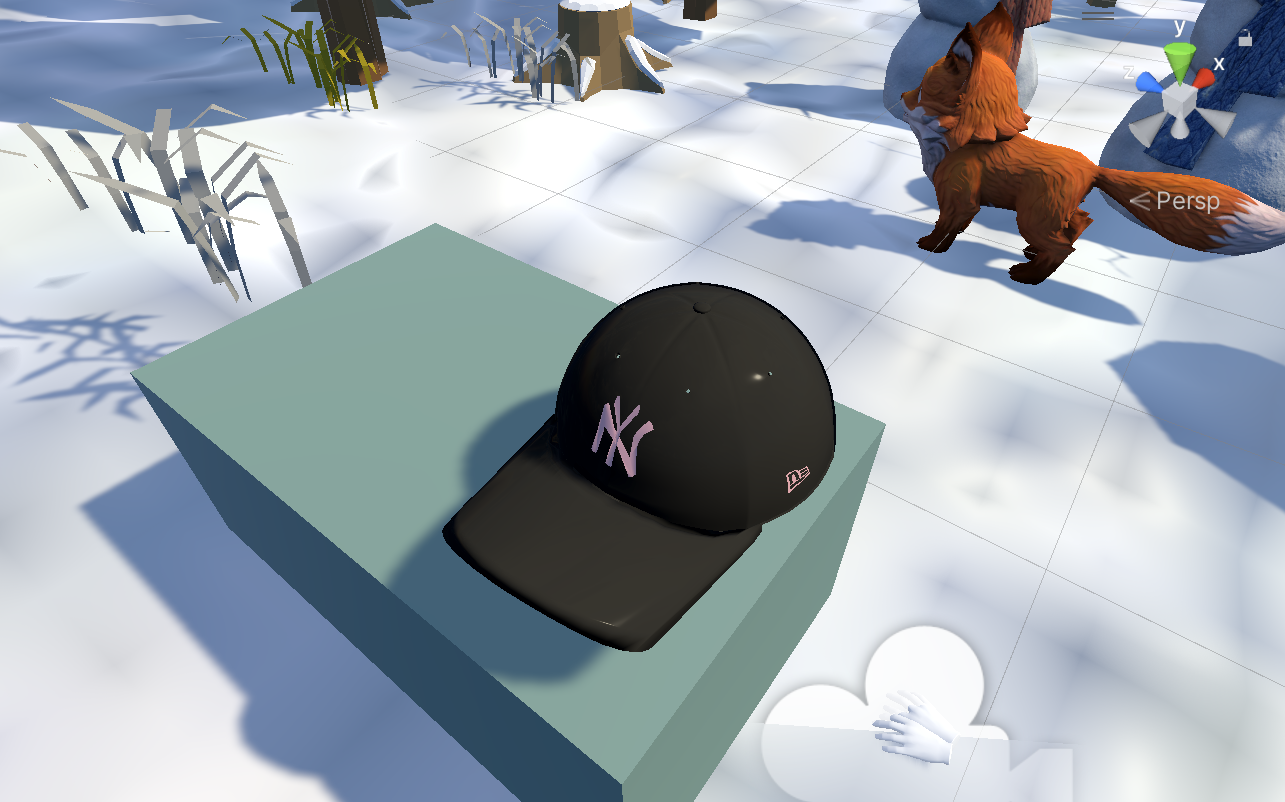
In my solo project as a 3D artist and designer, I embarked on the creative journey of crafting a highly detailed and true-to-life 3D model of the iconic headwear.
Modeling: I started by carefully studying reference images and measurements to accurately recreate the cap's shape, stitching, and fabric details. The modeling process involved creating a 3D mesh that accurately represents the real-world cap.
Texturing: To make the cap as realistic as possible, I applied textures and materials. This included recreating the fabric's texture, logo placement, and any other unique elements such as embroidery or patterns.
UV Mapping: One of the critical aspects of this project was the UV mapping process. UV mapping is the technique used to unwrap the 3D model onto a 2D texture map, ensuring that textures are applied accurately and seamlessly. For the cap, achieving precise UV mapping was essential to ensure that the textures matched the cap's real-world appearance.
Rendering: Rendering was a crucial step in bringing the cap to life. I used Maya's powerful rendering engine to produce high-quality images that showcased the cap's textures, materials, and details in the best possible light.
Challenges and Solutions: Throughout this project, I encountered various challenges, such as achieving a lifelike fabric appearance and ensuring accurate proportions. To address these challenges, I conducted extensive research, experimented with different techniques, and sought feedback from peers and mentors. This iterative process helped me refine my skills and produce a final result.
I consider this project a significant step in my 3D modeling journey, but I am committed to continuous improvement.
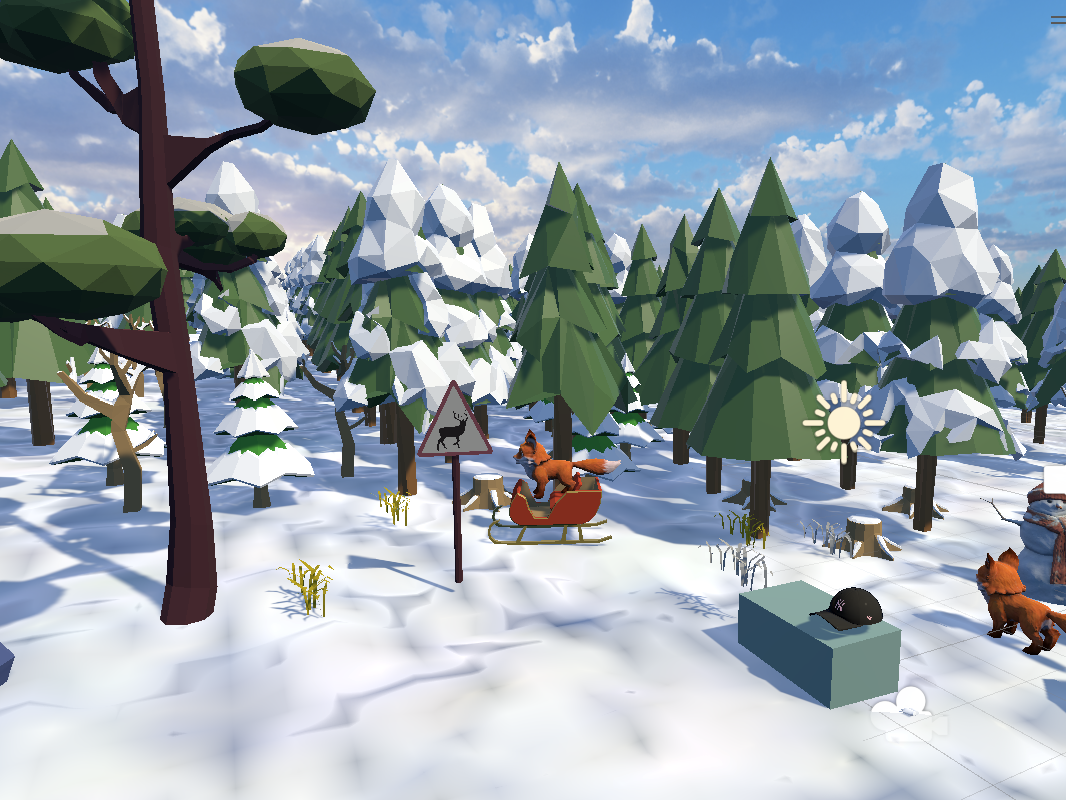
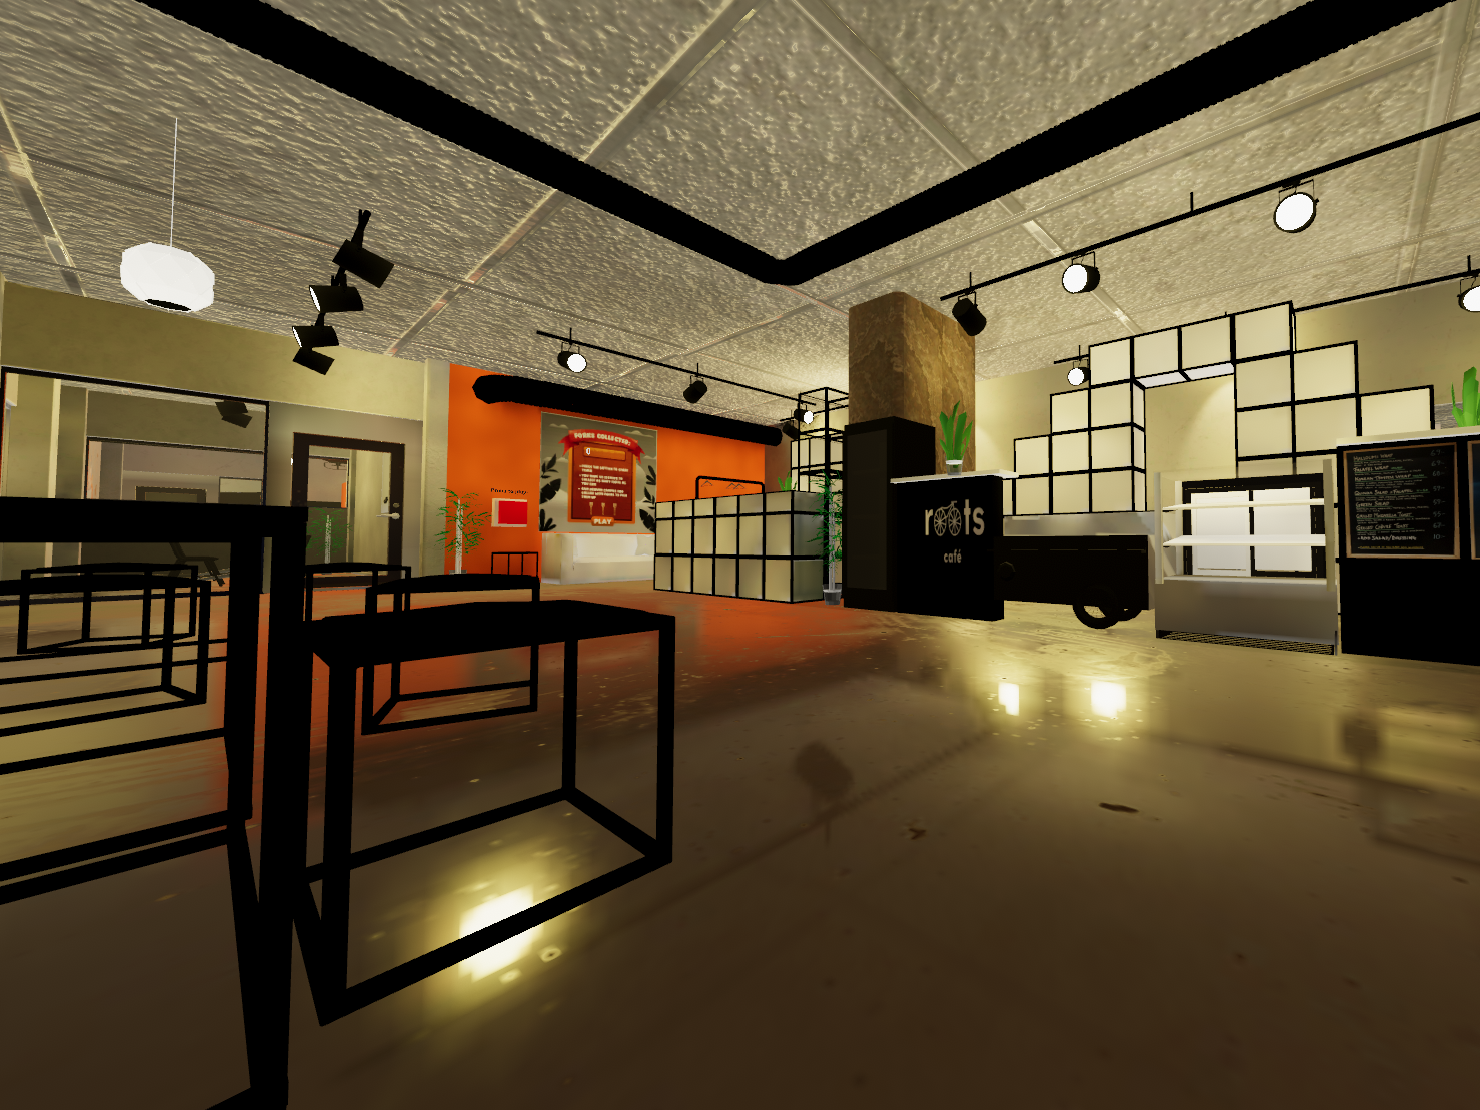
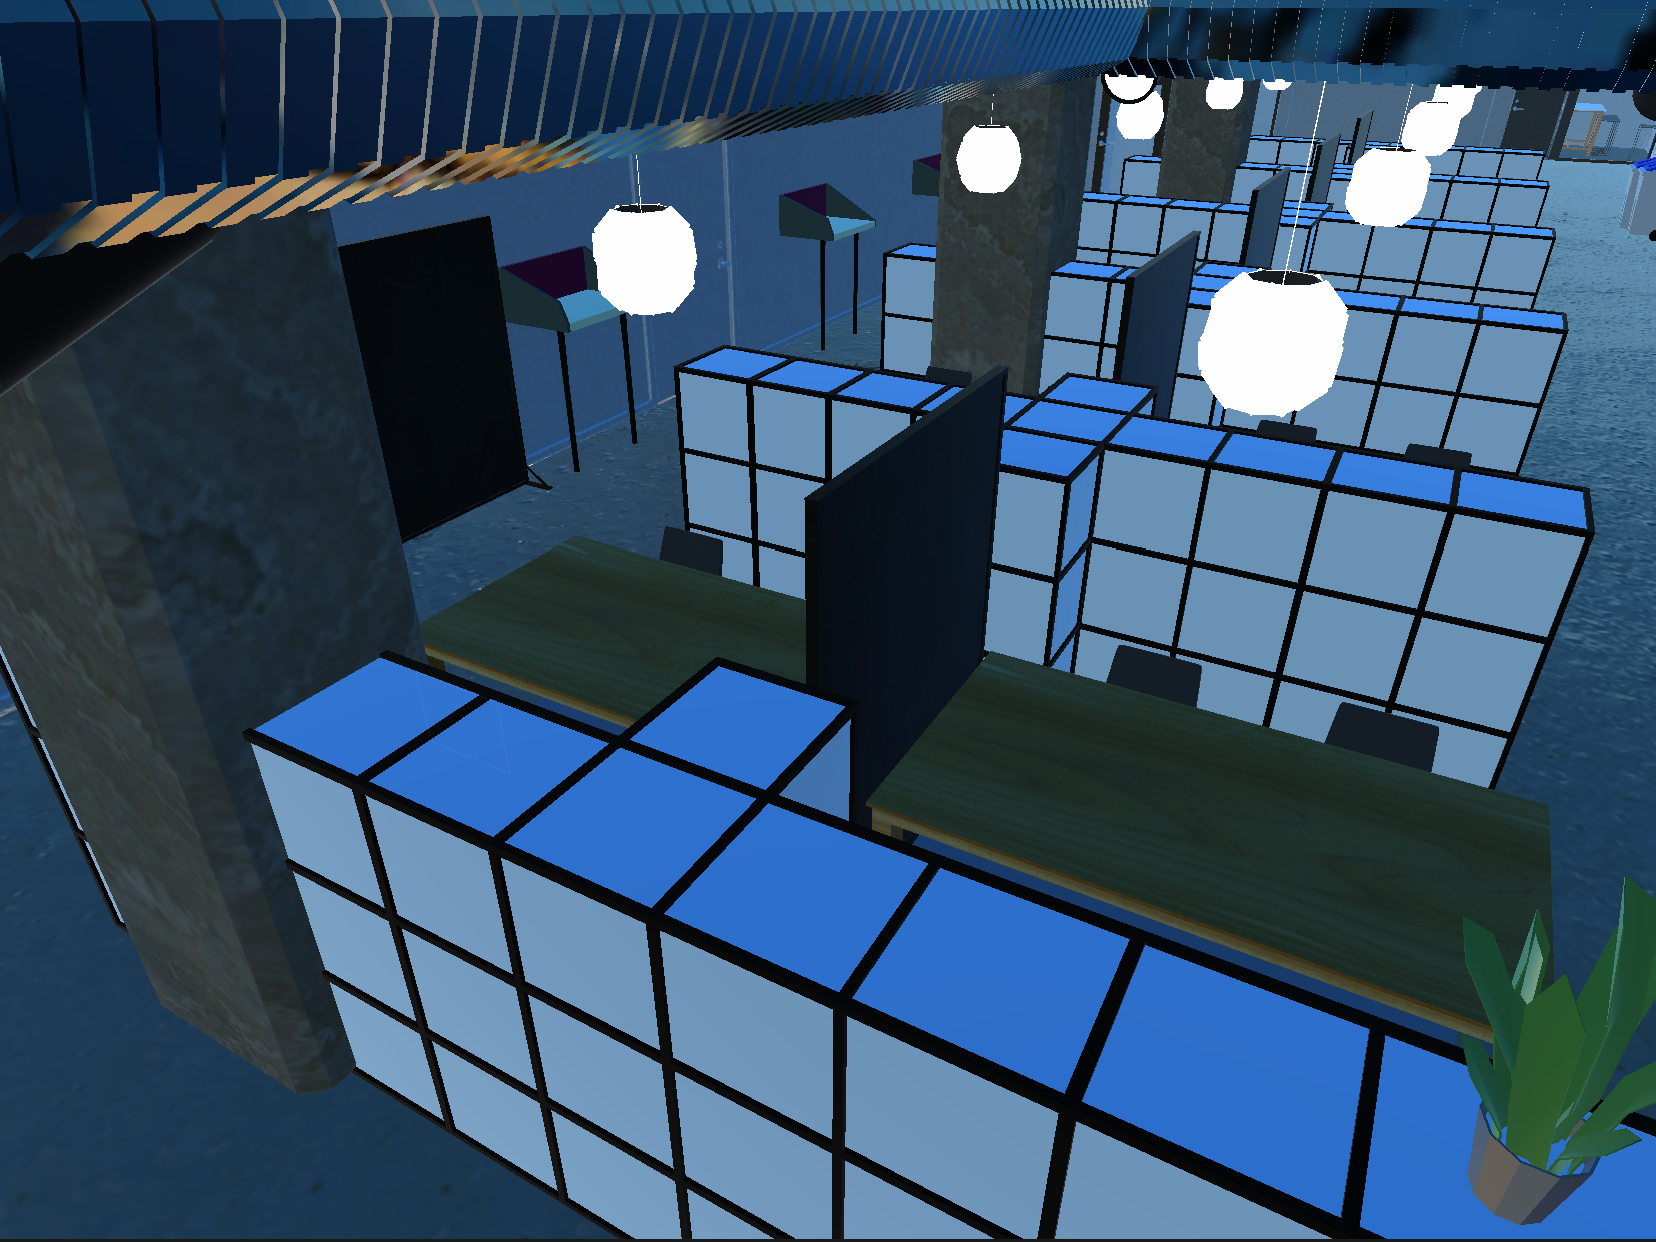
Later on the model was exported to Unity game engine.